2018年9月27日にリリースされた Spring Security 5.1[参考文献1]では多くの機能追加が行われました。 中でも注目なのは、 WebFlux に OAuth 2 サポートが加わったことです (Servlet 向けには大昔からある)。WebFlux は Non-blocking I/O かつ Reactive なプログラミングモデルを採用したフレームワークですが、従来の Servlet モデルと比べると幾分機能が足りていませんでした。 中でも個人的に大穴だと感じていたのがこの OAuth 2 サポートです。 というか、実は最初のマイルストーンが発表されるまで、サポートされていないことを知りませんでした。 だって Spring のドキュメントにある既存の OAuth 2 周りのドキュメントが WebFlux もスコープに含むのか含まないのかとても曖昧で、その道の通でなければ実際にコードを調べたり動かしたりしない限り気づけないんですもの・・・。
もうひとつ、Security 5.1 から1ヶ月遅れて登場した2018年10月30日には Spring Boot 2.1[参考文献2] がリリースされ、Spring Security 5.1 の新機能も使えるようになりました。
私は WebFlux にて OpenID Connect をプロダクションで使うため、この Boot 2.1 + Security 5.1 の組み合わせをリリース前のマイルストーンからずっと検証し続けてきました。 OpenID Connect (以後 OIDC) は認可のフローに OAuth 2.0 を用いた認証システムの規格で、今回の OAuth 2 対応には OIDC 対応も含まれているため、難なくインテグレートすることができます。
Spring Security おさらい
冒頭で OAuth 2.0 の機能自体は昔からあると触れましたが (Spring Security OAuth プロジェクト)、5.0 で Client Registration という機構が導入され、書き方が少しだけ変わっています。
定義済みのプロバイダーとして Google, GitHub, Facebook そして Okta があり、Google の場合の設定 (application.yml) はたったこれだけです[参考文献3]:
spring:
  security:
    oauth2:
      client:
        registration:
          google:
            client-id: google-client-id
            client-secret: google-client-secret
💡 事前定義されたエンドポイント URL 等の内容は CommonOAuth2Provider のコードで確認することができます[参考文献4]。
すべての設定項目と Client Registration のプロパティの対応は以下のようになっています。
spring:
  security:
    oauth2:
      client:
        registration:
          xxxx: # registrationId
            client-id: xxxx # clientId
            client-secret: xxxx # clientSecret
            client-authentication-method: xxxx # clientAuthenticationMethod
            authorization-grant-type: xxxx # authorizationGrantType
            redirect-uri-template: xxxx # redirectUriTemplate
            scope: xxxx # scopes
            client-name: xxxx # clientName
        provider:
          xxxx: # providerId
            authorization-uri: https://xxxx # providerDetails.authorizationUri
            token-uri: https://xxxx # providerDetails.tokenUri
            jwk-set-uri: https://xxxx # providerDetails.jwkSetUri
            user-info-uri: https://xxxx # providerDetails.userInfoEndpoint.uri
            user-name-attribute: xxxx # providerDetails.userInfoEndpoint.userNameAttributeName
様々な設定項目があることがわかりますね 😄
scope って何だ?って思った方は、ぜひこの記事をご覧ください (脱線 😁)
さて、これだけであなたの WebFlux アプリが認証がかかった状態になり、未認証状態で / にアクセスすれば認証プロバイダに飛ぶようになります。
また /login や /logout といったエンドポイントにはデフォルトのログインページやログインページが生成・配備されます。
registration 項目の直下に書いた文字列はプロバイダの区別に使われる registrationId となり、プロバイダ別のエンドポイント URL にも使われます (registrationId が xxx なら認可開始 URL が /oauth2/authorization/xxx になる等)。
OpenID Connect
こっからが本題です。OIDC です。 前述の通り OIDC は認可に OAuth 2.0 のフローを使うため、同じ仕組みを使うことができます。
手頃な OIDC プロバイダーがない?そんなあなたに Auth0!
以前こちらの記事で紹介しておりました。詳しい説明はぜひこちらを参照ください。
それでは設定例です。
spring:
  security:
    oauth2:
      client:
        registration:
          auth0:
            client-id: xxxx
            client-secret: xxxx
            authorization-grant-type: authorization_code
            redirect-uri-template: '{baseUrl}/login/oauth2/code/{registrationId}'
            client-name: auth0
            scope: openid profile
        provider:
          auth0:
            authorization-uri: https://xxxx.auth0.com/authorize
            token-uri: https://xxxx.auth0.com/oauth/token
            user-info-uri: https://xxxx.auth0.com/userinfo
            user-name-attribute: sub
設定値は多くなりますが、YAML だけで OIDC ができるのは Boot と Security の連携のおかげ。素晴らしいですね。
DEMO!
せっかくなのでデモコードを書いて動かしてみましょう。
アプリが受け取る情報を確認するために、こんなハンドラを書いてみました。
import org.springframework.context.annotation.Bean
import org.springframework.http.MediaType
import org.springframework.security.oauth2.client.authentication.OAuth2AuthenticationToken
import org.springframework.stereotype.Component
import org.springframework.web.reactive.function.server.*
import reactor.core.publisher.Mono

@Component
class IndexHandler {

    @Bean
    fun indexRoutes(): RouterFunction<ServerResponse> {
        return RouterFunctions.route(RequestPredicates.GET("/"), HandlerFunction { get(it) })
    }

    fun get(request: ServerRequest): Mono<ServerResponse> {
        return request.principal().map { (it as OAuth2AuthenticationToken).principal }.flatMap {
            ServerResponse.ok().contentType(MediaType.TEXT_HTML).render("index", mapOf(
                    "title" to "webflux-auth0-demo",
                    "username" to it.name,
                    "attributes" to it.attributes
            ))
        }
    }
}
これを Thymeleaf で書いた以下のテンプレートに流し込んでみます。
<!DOCTYPE html>
<html xmlns="http://www.w3.org/1999/xhtml" xmlns:th="http://www.thymeleaf.org">
<head>
    <meta charset="UTF-8"/>
    <title th:text="${title}">(title)</title>
</head>
<body>
<p>Welcome <strong th:text="${username}">(username)</strong>!</p>
<table border="1">
    <tr th:each="attr : ${attributes}">
        <td th:text="${attr.key}">(key)</td>
        <td th:text="${attr.value}">(value)</td>
    </tr>
</table>
<p><a href="/logout">Logout</a></p>
</body>
</html>
起動!
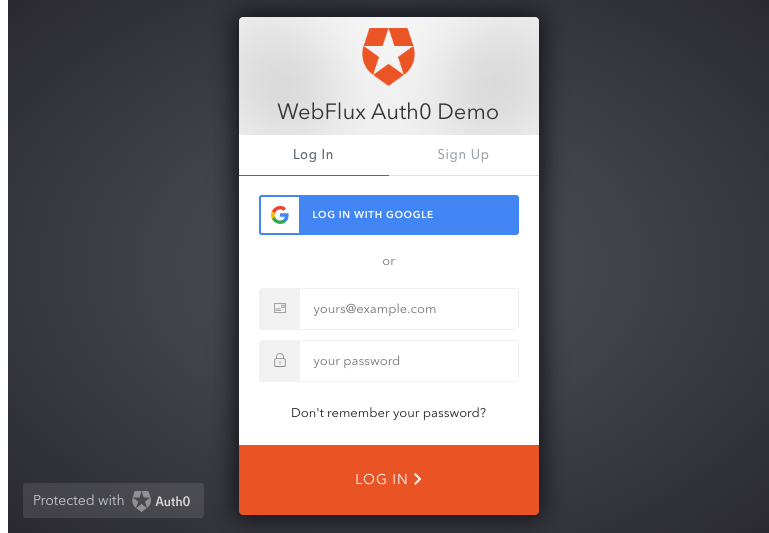
Auth0 認証画面
Auth0 のイケメンなログイン画面が出ました。
まずは Auth0 のダッシュボードで事前に設定しておいたユーザーでログインしてみます。

Auth0 組み込み認証で認証後
無事に profile 情報を表示できました!
今度は Google でログインしてみます。
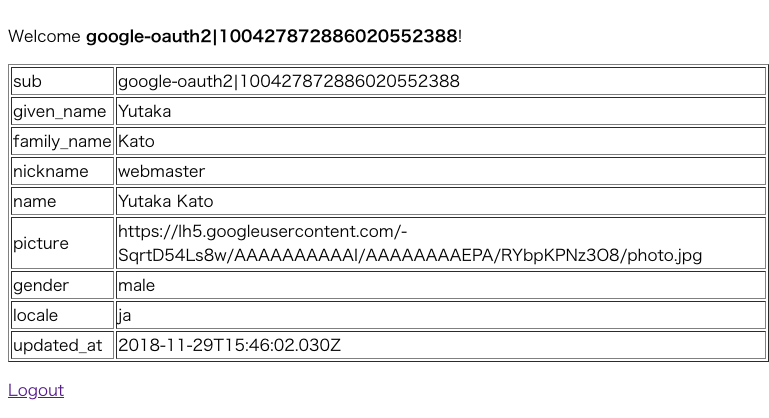
Google 連携で認証後
先程より多くの情報が表示されました。scope を変えると、連携する情報を調整することができます[参考情報6]。
デモアプリ URL
⚠️ Azure App Service を利用しているため、初回アクセス時はアイドル状態から起き上がるまで待たされることがあります。
デモアプリの元になっている Gradle プロジェクトも公開していますので、開発の参考にしてみてください。
mikan/webflux-auth0-demo: Spring WebFlux + Auth0 OIDC demo
Happy hacking!